Storage
Introduction
Block Storage allows you to create and attach additional storage volumes to your Cloud VM. Volumes are an independent resource that can easily be moved from one VM to another within the same datacenter. Attached volumes function like locally connected storage drives, allowing you to manage your storage with familiar tools and techniques.
What is Block Storage?
Block Storage is a flexible, convenient way of managing additional storage for your Cloud VM. Block Storage is provisioned in units known as volumes. Volumes function as block devices, meaning they appear to the operating system as locally attached storage drives which can be partitioned and formatted according to your needs.
Block Storage is provided through Ceph’s RADOS Block Device (RBD), that interfaces to block device images striped and replicated across a storage cluster. This mechanism provides resilience to hardware failures.
When To Use Block Storage?
Block Storage is a good solution in scenarios where you need more storage space, but do not require the additional processing power or memory that a larger VM would provide. Block Storage volumes can be created, destroyed, or expanded easily as your needs change, simplifying initial planning around your storage requirements.
Because volumes function as generic block devices, they can be useful in a large variety of contexts. A few examples are:
As the document root or media uploads directory for a web server
To house database files for a database server
As a target location for backups
As expanded storage for personal file hosting platforms like ownCloud
As components for building more advanced storage solutions, like RAID arrays
Creating and Attaching Volumes
The main interface for creating and attaching Ceph volumes is through the Volumes section of the Horizon dashboard.
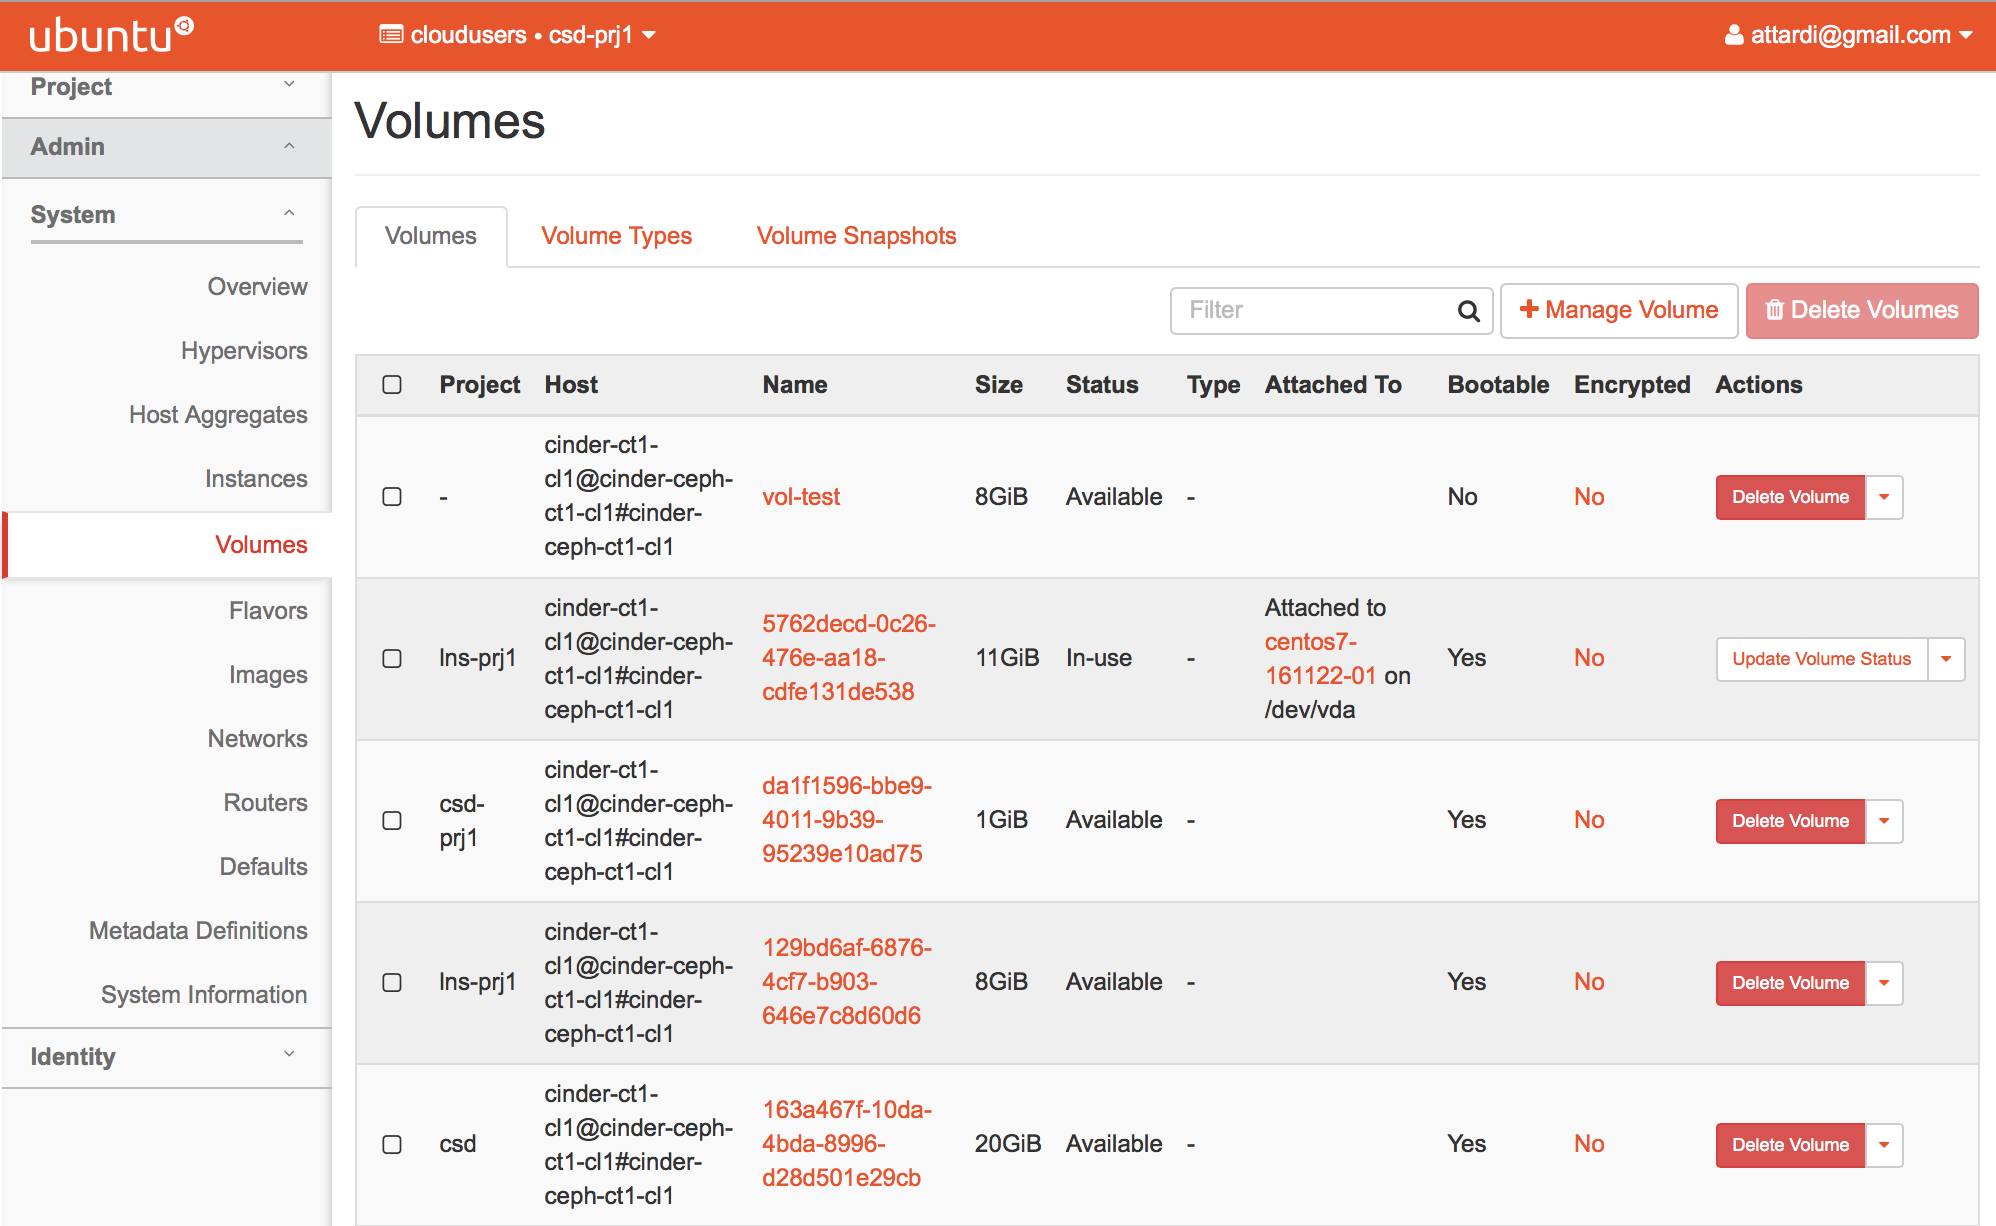
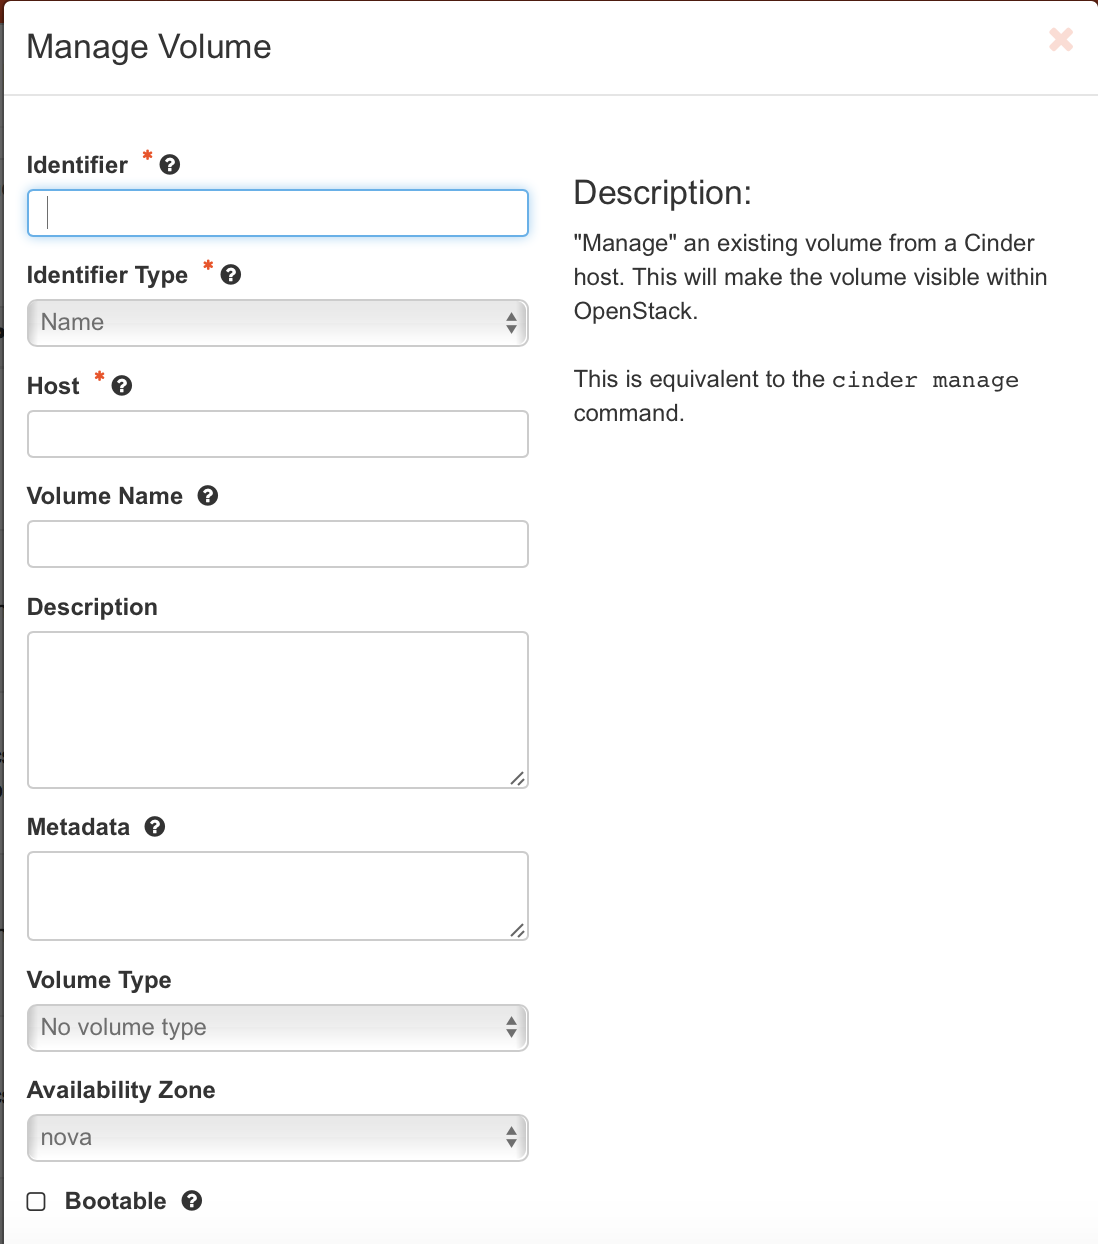
You create a volume by clicking on the Manage Volume button.
Preparing Volumes for Use in Linux
After you attach a volume to your VM, you must prepare the volume for use as you would with any new disk in Linux. The steps needed will depend on whether you are working with a newly created volume or setting up an existing volume on a new server.
To begin, log into your VM with a user with sudo privileges or as root.
Preparing a Newly Created Volume
Newly created volumes require some preparation before the server
can begin to utilize the additional space. Volumes must be
partitioned, formatted with a filesystem, and mounted. Most of the
time, the /etc/fstab file should be modified as well, so that
mounting will take place automatically at boot.
Preparing an Existing, Formatted Volume
After attaching an existing volume that has previously been partitioned and
formatted, you will need to identify the filesystems available, mount them to
a directory, and adjust the /etc/fstab file for mounting them automatically.