Migrate your VMs to a different region
To migrate a VM to a different region you can create an Image from it’s primary bootable volume (usually mounted on /dev/vda) on the source region and use that Image to instantiate a new VM on the destination region.
Warning
You must have sufficient quotas on the destination region to complete the migration successfully.
Warning
This method includes turning off your VM, if you have any services running on it they will be unreachable during the migration process.
In this example we will migrate a single VM named test1 and all its associated resources from the garr-ct1 region to garr-pa1 region.
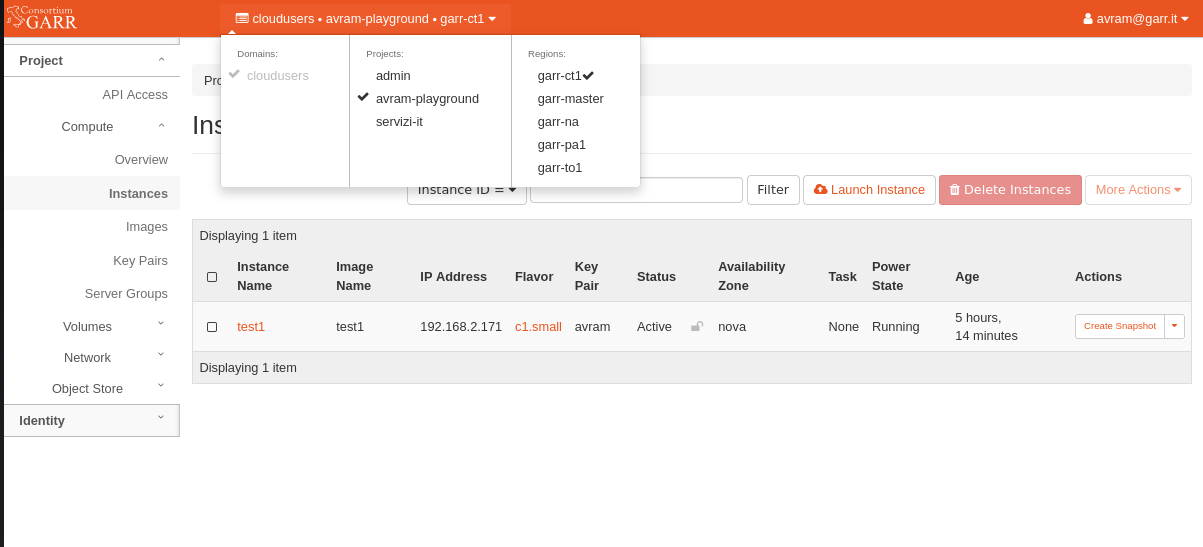
Switch to garr-ct1 - from the top navigation bar select the source region - garr-ct1
Shut off your VM - navigate to Compute/Instances section, find your VM and select Shut off. This action will turn off the VM.

Note down your VM’s info - select the VM by clicking on it’s name in Instance Name column. In the VM’s overview page you can visualize the VM metadata. Note down the following info
Name - test1
Flavor - c1.small
Networks - default
Security Groups - default, ssh and http
Metadata Key Name - avram

Find your VM’s volumes - navigate to Volumes/Volumes and find your VM’s volumes. Look up the Attached to field, it contains the VM name and the mountpoint. The volume mounted on /dev/vda is the volume where the operating system is stored. In our case we have the following volumes:
4cfa41a6-0104-4012-8db3-185bc7d81ed9 - /dev/vda on test1
test1_VDB_volume - /dev/vdb on test1
test1_VDC_volume - /dev/vdc on test1

Upload each volume to an image - for each volume X repeat the following steps:
- from dropdown select Upload to image
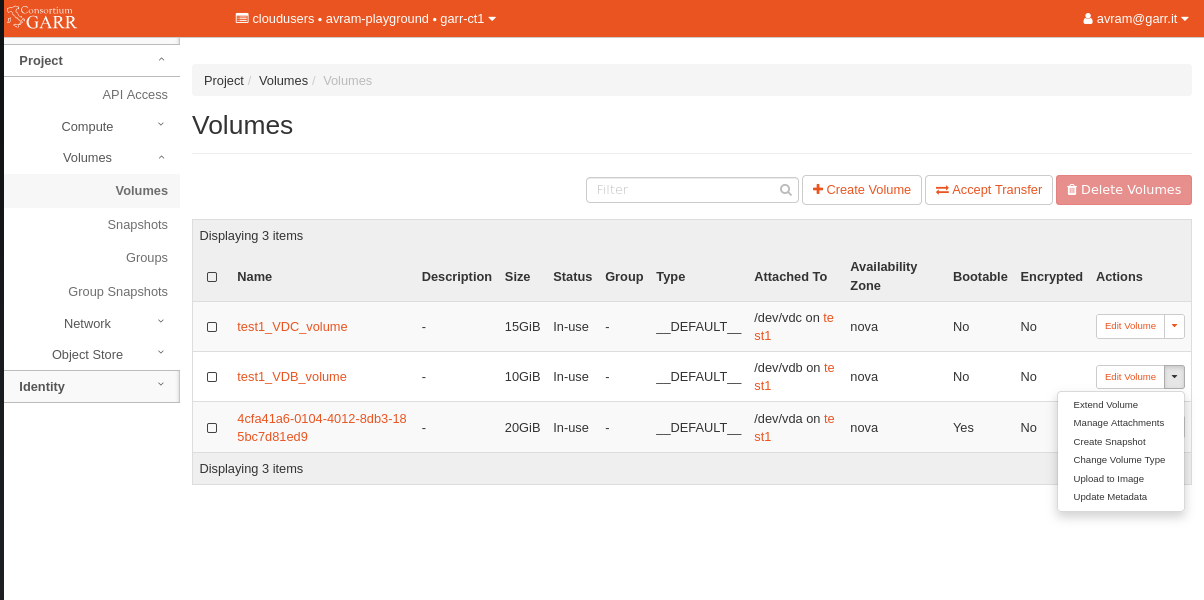
- name the new image test1_VDX_image, check Force and leave Disk Format to RAW. Click on Upload to create a new image

- wait until the Upload process is completed

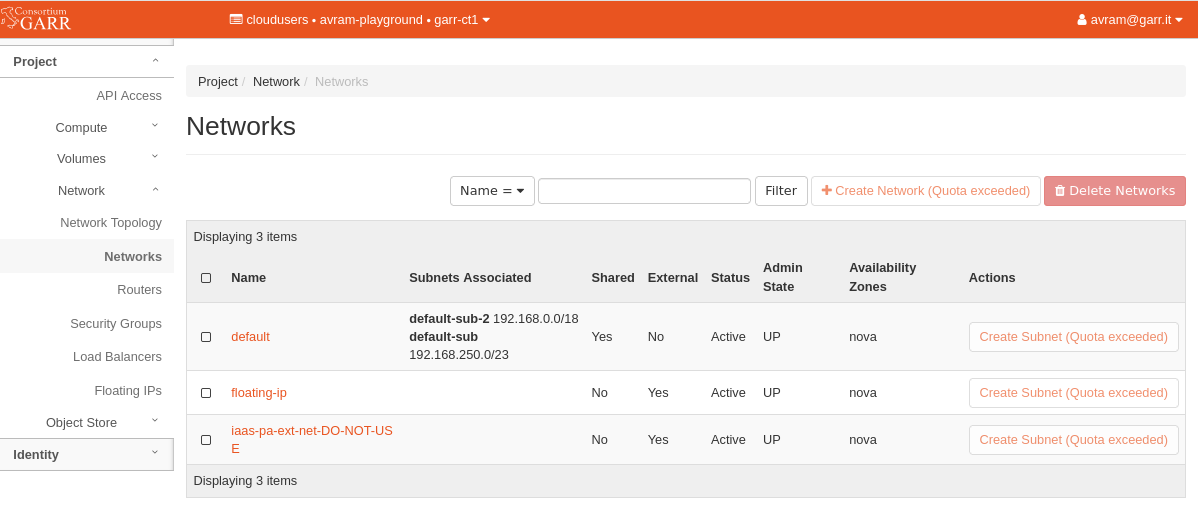
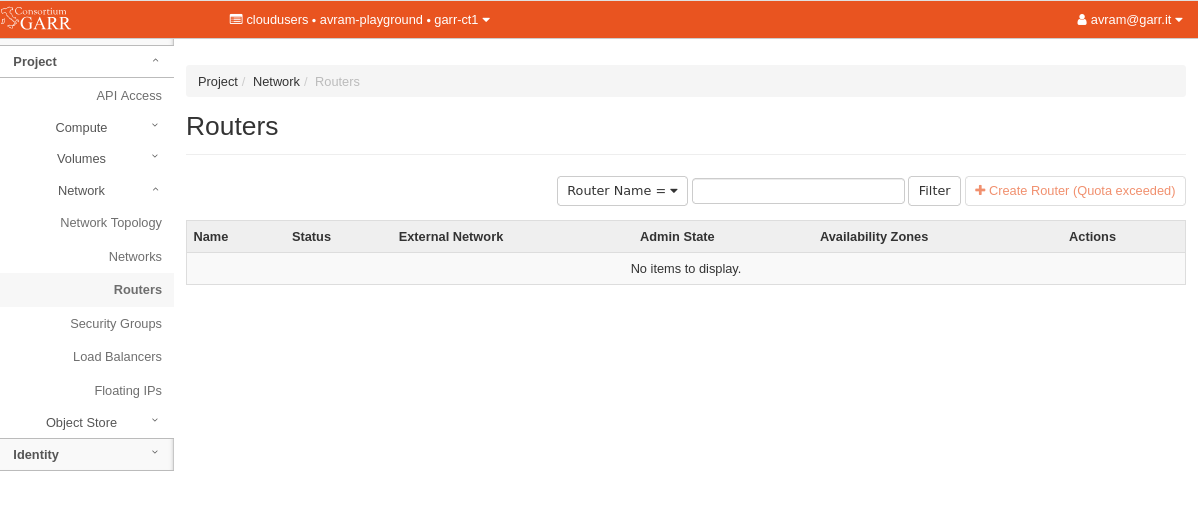
Note down info about network resources in garr-ct1 - navigate to Network/Security Groups, Network/Networks, Network/Routers, Network/Load Balancers and for each section note down the resources info. These resources must be recreated on garr-pa1 region with identical configurations (see step 7). If you don’t have a specific network configuration you can check only Network/Security Groups.
check if you have any Security Groups, and for each Security Group check the Rules. also check if you have created any rules inside “default” security group.

check if you have created private networks and routers in your project. If not, the Network page will only show the shared networks “Default”, “floating-ip”, “iaas-pa-ext-net-DO-NOT-USE”, and the Routers page will be empty
- check if you have any Routers in your project
- check if you have any Load Balancers in your project

Recreate the network resources on garr-pa1 - from the top navigation bar select the destination region garr-pa1. Recreate Network/Security Groups, Network/Networks, Network/Routers and Network/Load Balancers on garr-pa1 (see step 6). If you don’t have a specific network configuration you can recreate only Network/Security Groups.

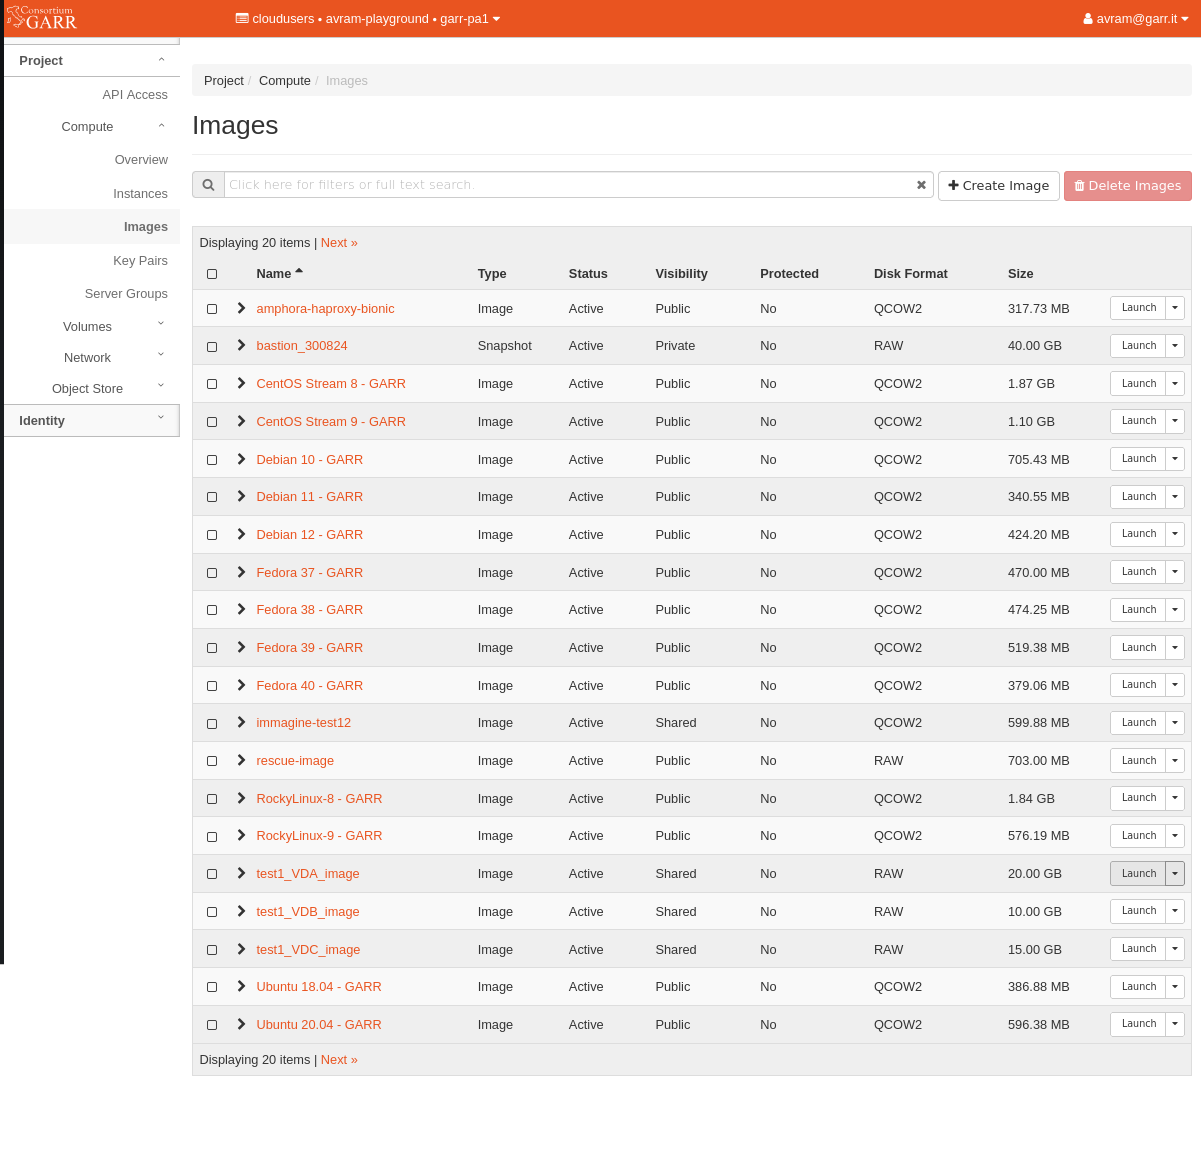
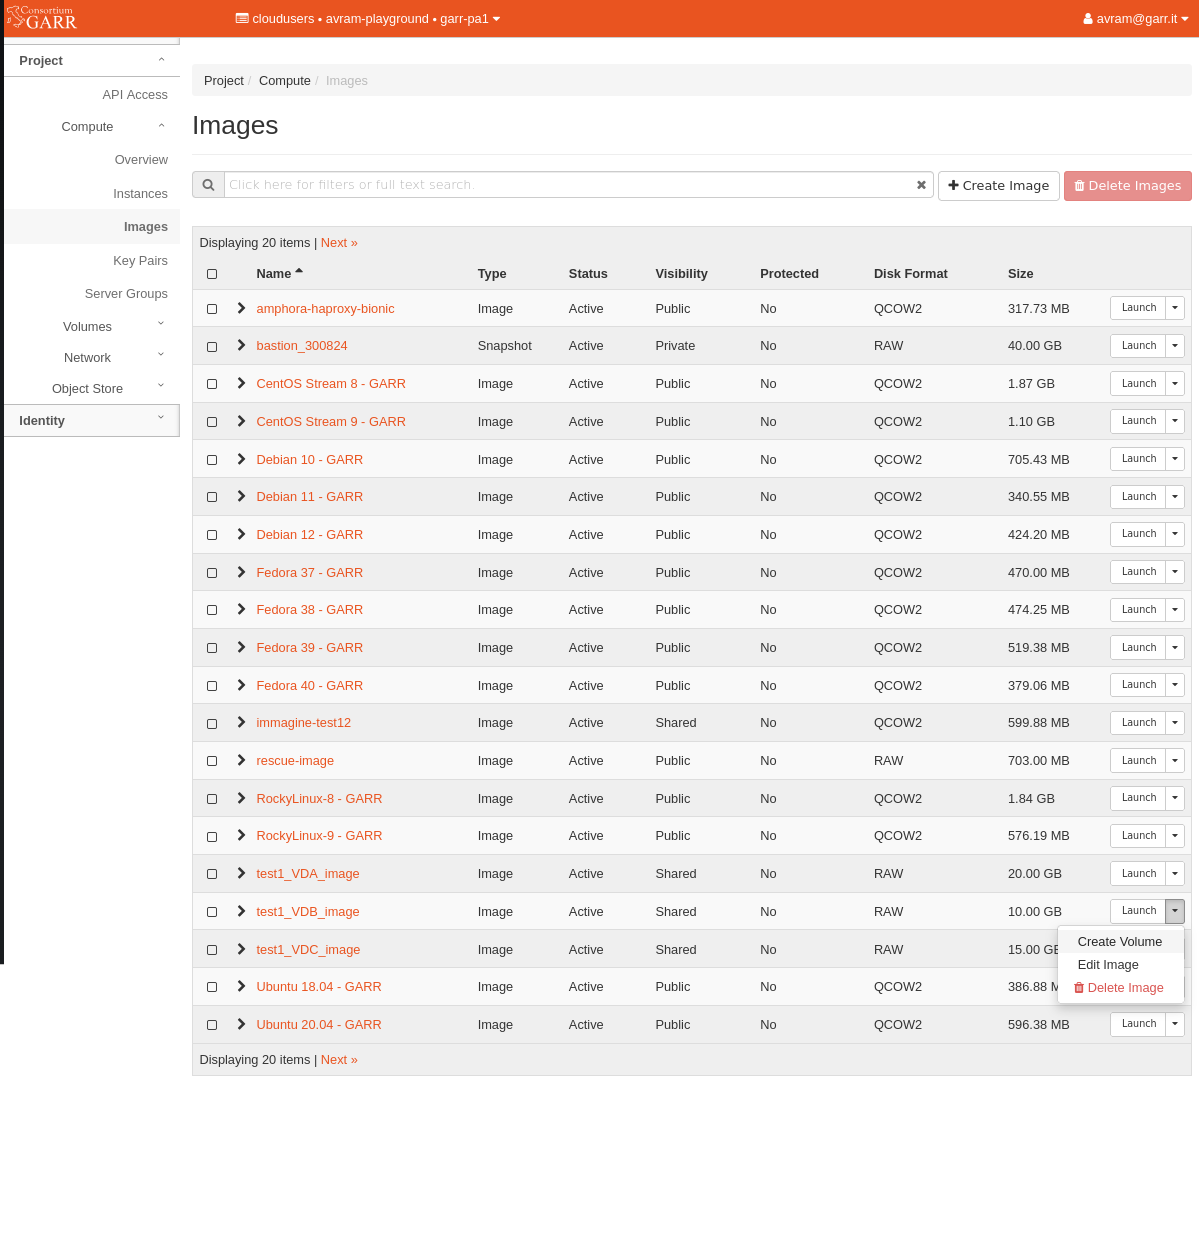
Check the images on garr-pa1 - now that we have recreated the resources on the new region garr-pa1 we can instantiate the VM. In Compute/Images section you should find the images that you have created on step 5.
test1_VDA_image
test1_VDB_image
test1_VDC_image
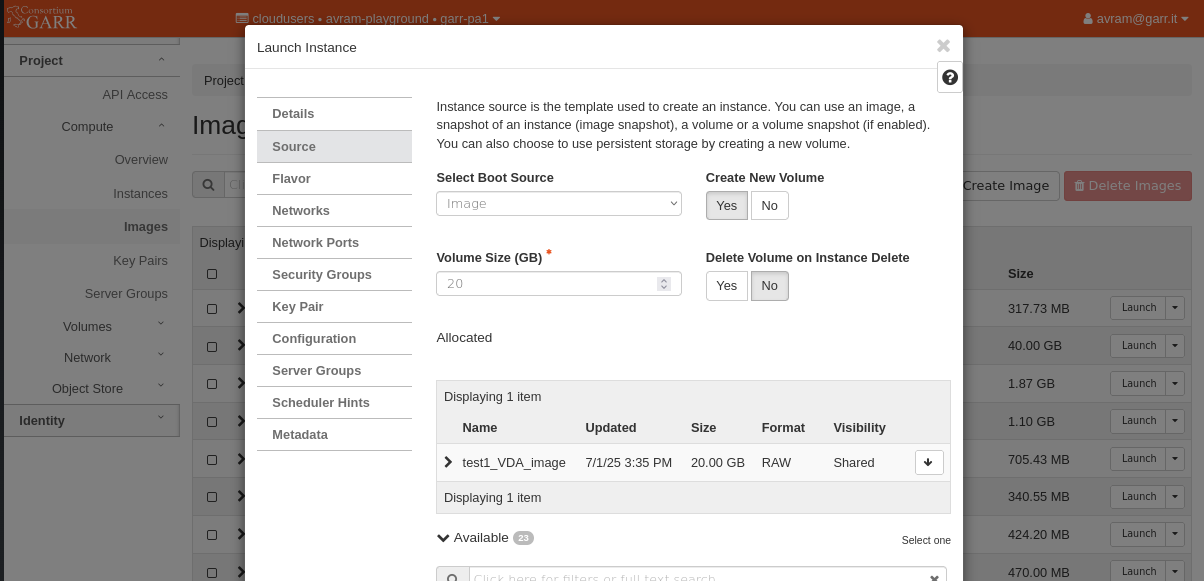
Launch a VM recreate the VM from the primary bootable image: test1_VDA_image (the one that has the operating system) with info from step 3.
- use the same name from step 2 - test1

- the source image is already set - test1_VDA_image (no action required)
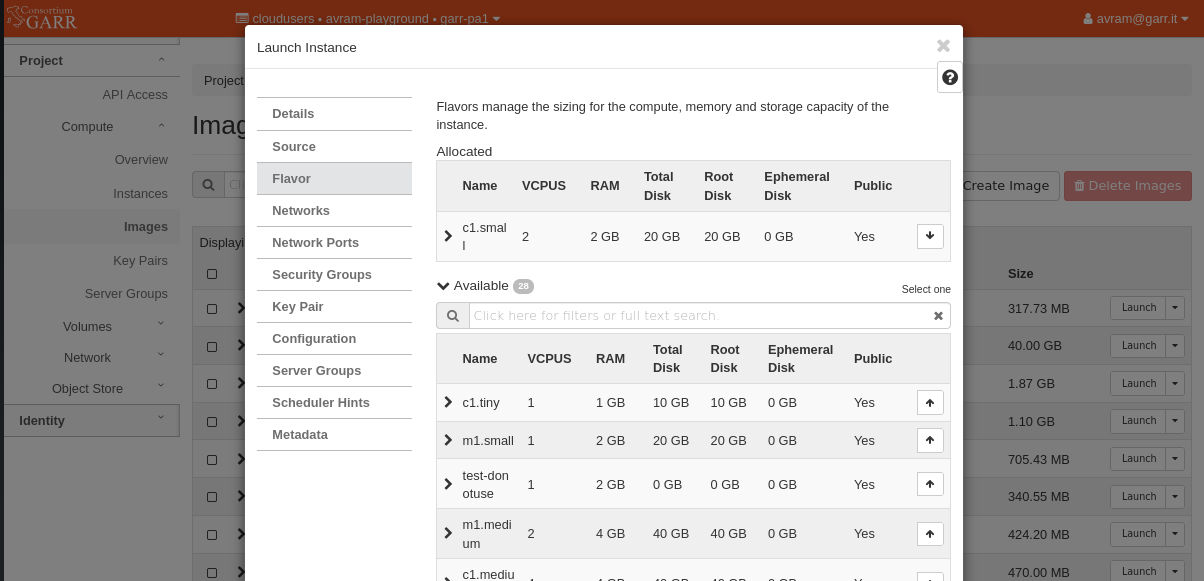
- use the same flavor from step2 - c1.small
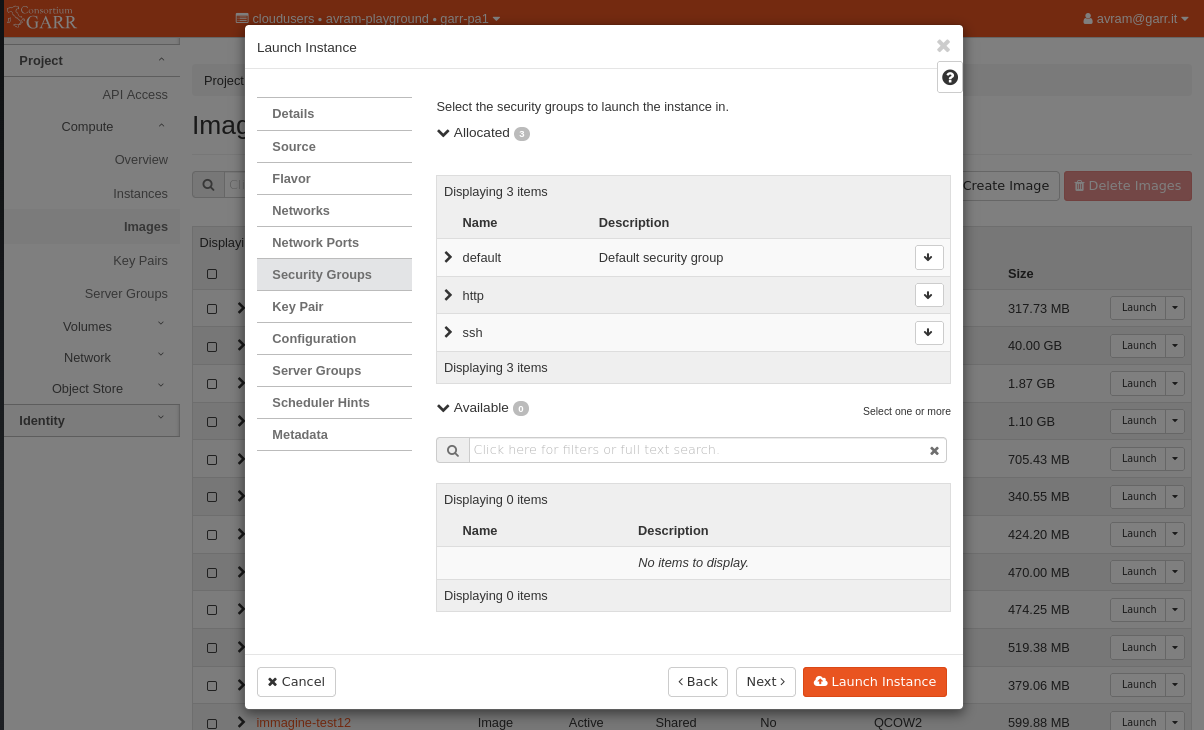
- select the same networks from step 2 - default

- select the same security groups from step 2 - default, http, ssh
- select the same key from step 2 - avram

Create the volumes - recreate the volumes from the secondary volume images: test1_VDB_image, test1_VDC_image.
- For each image select Create Volume.
- Name the volumes test1_VDB_volume and test1_VDC_volume.

Attach the volumes to the VM - navigate to Compute/Instances and check if the VM was created successfully. Now we must attach all the secondary volumes to the VM. Attach one volume at a time in the following order: test1_VDB_volume, test1_VDC_volume. First goes the volume that was mounted on /dev/vdb on the old VM on garr-ct1 then the volume that was mounted on /dev/vdc and so on. For each volume X do the following:
- From the dropdown select Attach Volume.

- Select the volume to attach

Reboot the VM after you attached all secondary volumes. Wait until the VM is Running.

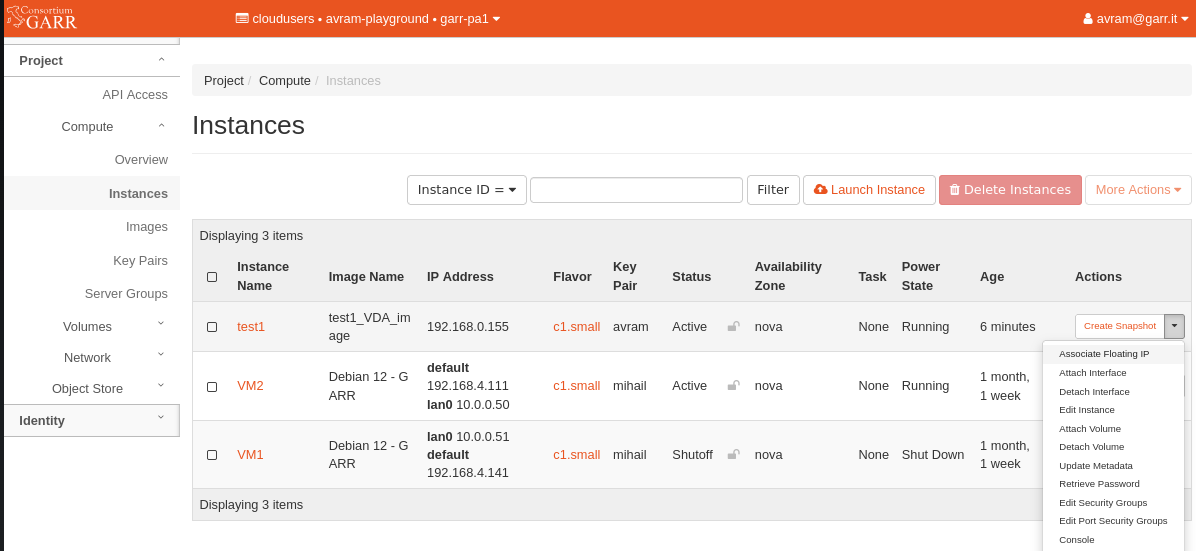
Associate Floating IP - from the dropdown on the right select Associate Floating IP to add a floating IP. You cannot use the same Floating IP of the VM on the source region, each region has a specific set of IP addresses that can be allocated for the VMs to use. If you use a DNS service you should also consider updating the record with the new allocated IP address.